 |
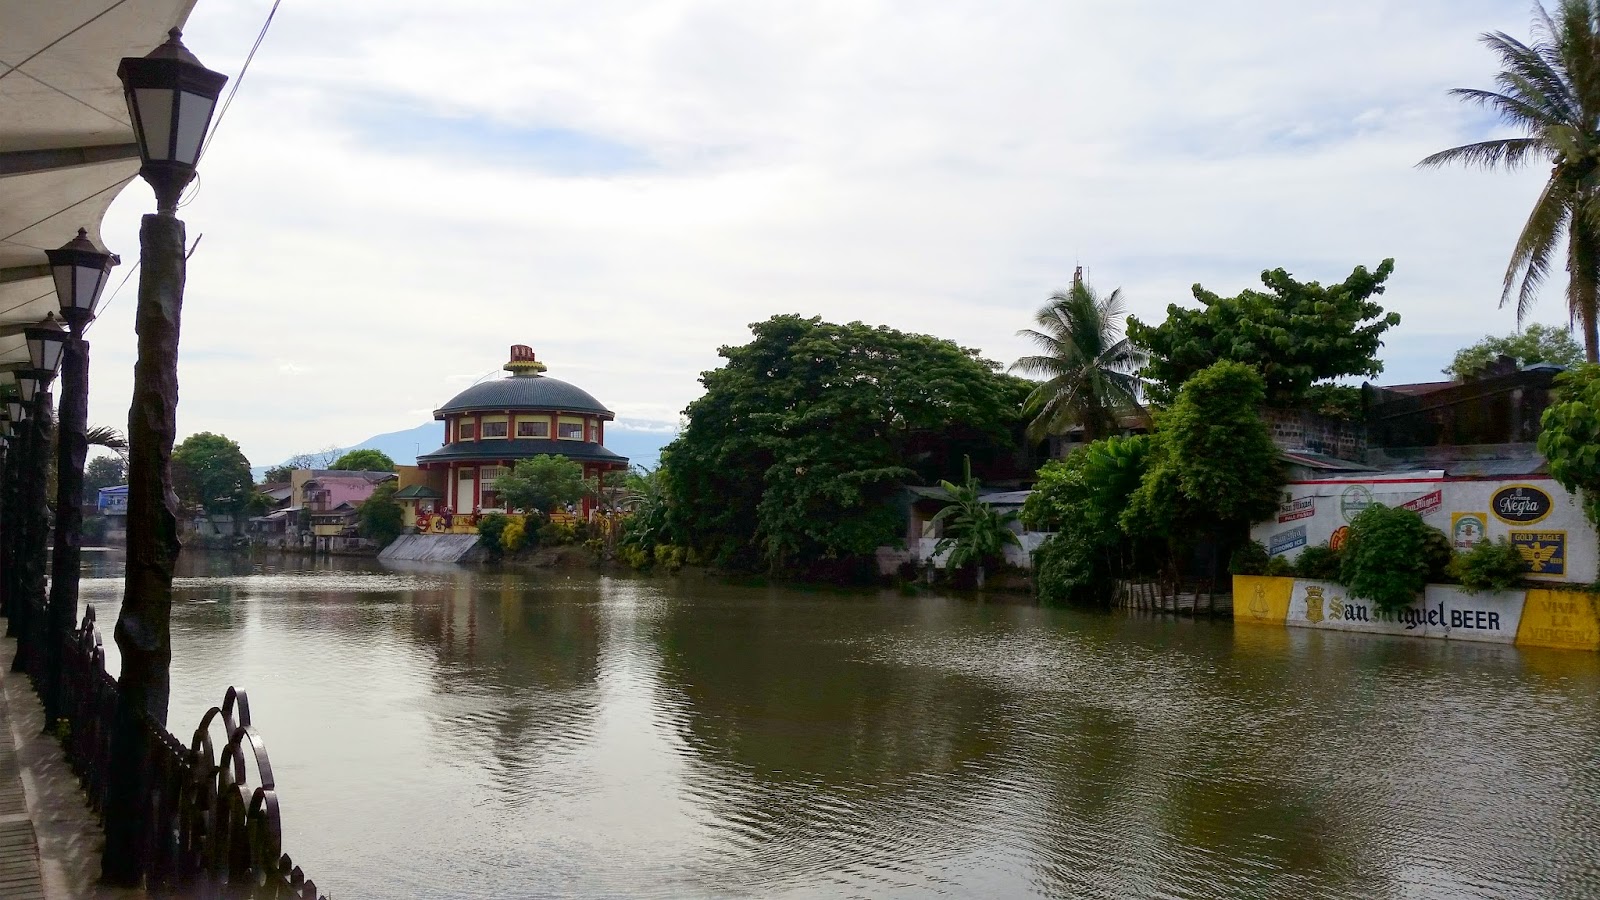
| A view of Naga River near the side entrance of Eurotel |
Our accommodation was Eurotel, a hotel situated beside Naga River which serves as the starting point for the fluvial parade of the Penafrancia Festival, the city is known for.
 |
| Lobby |
(Penafrancia Festival Schedule at Pinoy Adventurista’s blog.)
 |
| Swift check-in |
I was assigned to a Studio room which has a beautiful picture of the Notre Dame Cathedral in Paris, France at the head of a queen-sized bed. It has its own private t&b, aircon, cable tv, safe and free WIFI. I was also grateful for the complimentary water bottles as I had just arrived from a 12 hour bus ride from Manila the night before.
 |
| Comfy bed |
Eurotel has its own restaurant with the price range of the food ranging from 150 Pesos above which is quite reasonable for its taste. An overnight stay also comes with free breakfast. Buffet was available during our stay. The variants were simple, not too many options but I was quite satisfied with what was available.
 |
| Breakfast is practically the first thing on my mind every morning! |
From the hotel, you can explore the city on foot (ideally early morning or during the evening to avoid the heat). The Oragon, a scultpure which depicts the bravery of the Bicolanos is a few feet away from the hotel. From the Oragon, you can continue on foot to Plaza Rizal, which honors the Philippines' national hero, Dr. Jose Rizal (located along General Luna street). Another worthwhile stopover is Quince Martires along Penafrancia street, a plaza honoring the 15 Bicolano martyrs during the Spanish colonization. To read more about Naga City attractions visit their local government website.

So there you go, if you're visiting Naga, consider Eurotel. Staff are friendly (not overly attentive which is good because I want to be left alone) and despite being dubbed as a businessman's hotel, I actually felt at home.
Eurotel Naga
#2 General Luna corner Riverside Road Bgy Dinaga, Naga City
Manila Line / Tel. No.+63 544-725321 / 6686131
Mobile No. +63 0922-3100303
Email : eurotel_naga@yahoo.com
Website : Eurotel - Naga
Rates at 1,500-2850 Pesos depending on room type.
Disclaimer :
Our 2-day Naga adventure was made possible by Naga Tourism office and Naga Excursions.
Related Post :
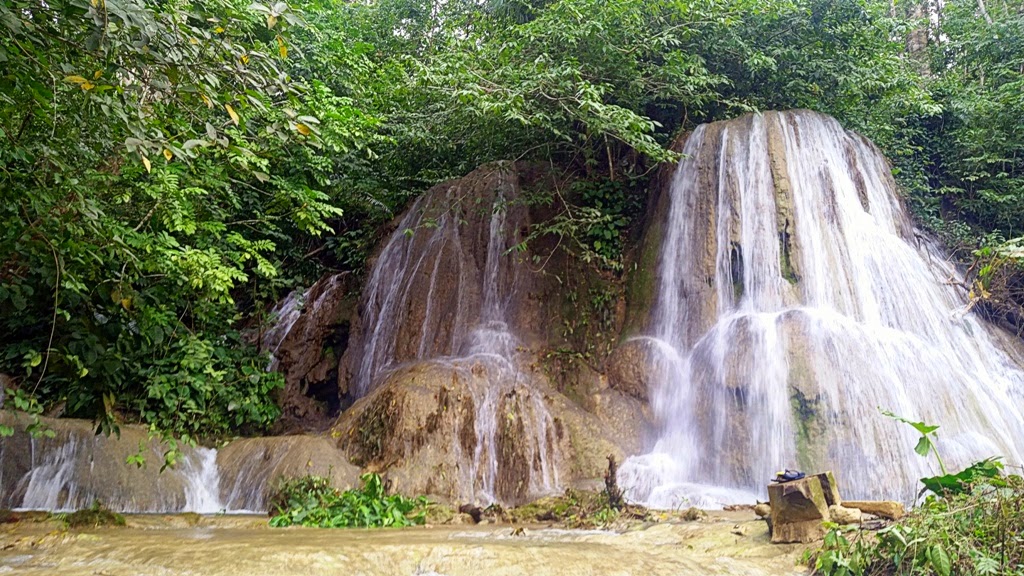
Check out our Waterfalls Hiking in Pili, Camarines Sur